 Content for School based clubs for the 2024-25 school year.
Professional Development
The materials below are videos and lessons for the 2024 -25 school year clubs. All of these lessons are completely FREE to you.
Training Sessions
Scratch
Training sessions are on Tuesdays starting from 4:00-4:45PM.
Fall 2024 Dates: 9/24, 10/1, 10/8, 10/15, 10/22, 10/29
Join Zoom Meeting
Meeting ID: 894 4770 1691
Passcode: 784412
micro:bit
Training sessions are on Wednesdays from 4:00-4:45PM.
Fall 2024 Dates: 9/25, 10/2, 10/9, 10/16, 10/23, 10/30, 11/6 (New)
Meeting ID: 889 7509 2572
Passcode: 511145
Administrative
Club Flyer
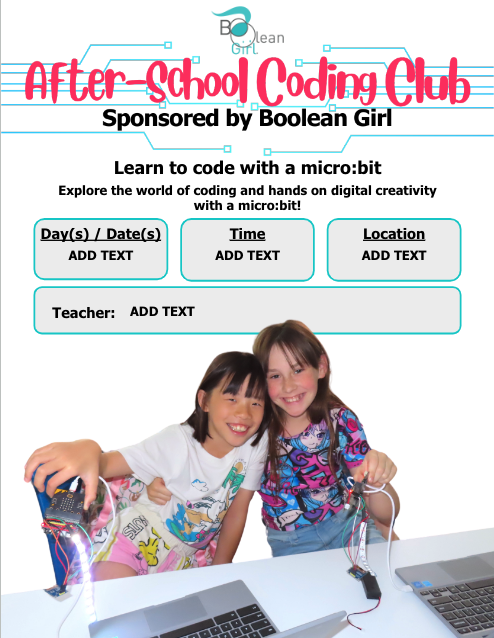
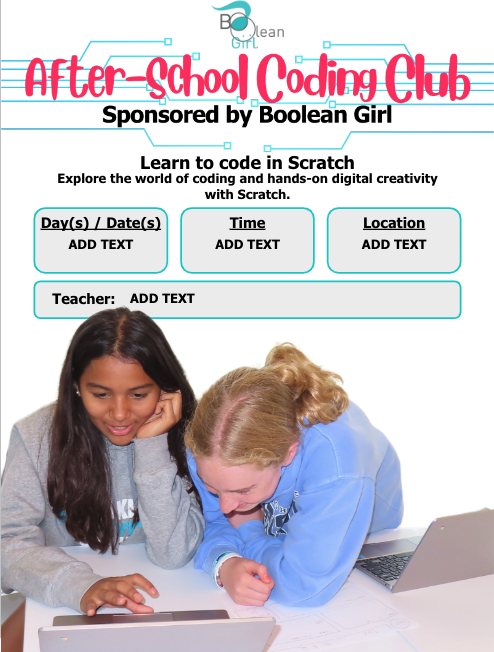
Announce your school's club with a flyer. Use this Google Sheet template.
Permission Slip
Coming soon!
Orientation Slides
Need to review the orientation slide deck?
A quick note on sharing these resources:
This resource page is designed to provide free computer science curricula for educators regardless of background or subject matter expertise. It is licensed under a Creative Commons license so you can remix, adapt, and build upon the material for noncommercial purposes only, as attribution is given to the creator, Boolean Girl. More Details.
micro:bit Session 1
Overview
In the first session we:
- Learned about the micro:it kit
- Modeled a first lesson
- Discussed plans for fall clubs
Resources
Resources include:
- A video replay of the training session,
- A video of the first lesson (no attendees),
- The slides from the training, and
- The slides for the first lesson (Name Badge)
micro:bit Session 2
Overview
In this session we:
- Looked at the Dance Party lesson (Lesson 2)
- Discussed sensors on the micro:bit
- Build the Cookie alarm (Lesson 3)
- Discussed admin procedures like getting paid.
Resources
Resources include:
- Slide deck to go with the video
- Lesson 2 Dance party
- Lesson 3 Cookie Tin Alarm
micro:bit Session 3
In the session, the instructor discussed the fourth lesson on radio light alarm, which builds on the previous lesson, light alarm. The lesson involved a deep dive into microbit radio and coding extensions. The instructor explained how the microbits can communicate with each other using the radio feature and introduced the radio extension. The lesson also included creating a simple radio program and discussing how to improve the system. The instructor suggested several ideas for extending the project, including building the Halloween project as a first lesson to introduce the microbit, experimenting with the microbits to determine the range of the radio signal, and considering other group interactions. - Written by Zoom AI
Overview
In this session we:
- Explored the Radio feature of the micro:bit
- Extended the Cookie alarm project to make it a Radio Light Alarm (Lesson 4)
Resources
Resources include:
- Slide deck to go with the video
- Lesson 4 Radio Light Alarm
micro:bit Session 4
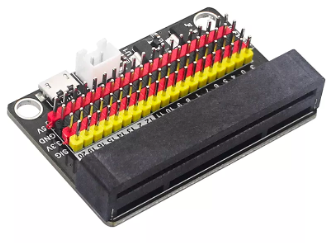
In the session, Brian introduced the Edge Connector and motors used in the Microbit base kit. He explained the components of the Edge Connector, including the general purpose pins, ground pins, and the 5-volt pin. He also discussed the motors, differentiating between the positional servo motor and the continuous rotation servo motor. Brian then demonstrated how to connect the motors to the Edge Connector and program them to move. He encouraged experimentation to better understand the motors' behavior. Finally, he mentioned that the motors would be used in the upcoming Inchworm project. - Written by Zoom AI
Overview
In this session we:
- Examine the Edge Connector and how to use it.
- Explore the different types of servo motors
- Continuous Rotation
- Positional
- Connect a motor and code it to rotate.
Resources
Resources include:
- PD Video
- Slide deck to go with the video
- Lesson 5a Conductivity Tester Slides
- Lesson 5a Conductivity Tester Training Video
micro:bit Session 5
In the session, we apply what we discovered about the edge connector and motors and built an inchworm.
Overview
In this session we:
- Reviewed the edge connector and motors
- Built the Inchworm project
Notes on building the inchworm:
- You need extra stuff - tape, paperclip, cardboard,....
- Get good tape, duct tape!
- It helps to have mounting putty
Resources
Resources include:
- PD Video
- Slide deck to go with the video
- Slides for the Inchworm project (same as the slides above)
micro:bit Session 6
In the session, we explore other inputs and outputs
Overview
In this session we:
- Explore other sensors
- Build a LED light strip
Resources
Resources include:
- PD Video
- Sensor Cookbook that shows you how to connect other sensors and sample code. We are adding videos as well.
- You Tube Channel with how to videos.
Scratch Session 1
Overview
In the first session we:
- We did a basic overview of scratch and went through the teacher training slides 1-23.
- I explained how "Challenge slides" and showed them the 4 projects they could choose from.
- We then built the "Giga Walking" project. This introduced choosing a Sprite and a backdrop and coding using event, motion, appearance, and control blocks.
- We discussed how to get on Scratch in the classroom and the use of the DC school system's "Clever" website.
Resources
Resources include:
- Video of the first lessons
- Slides from training here
- All the projects are in Scratch Studio
Scratch Session 2
Overview
In the second session we:
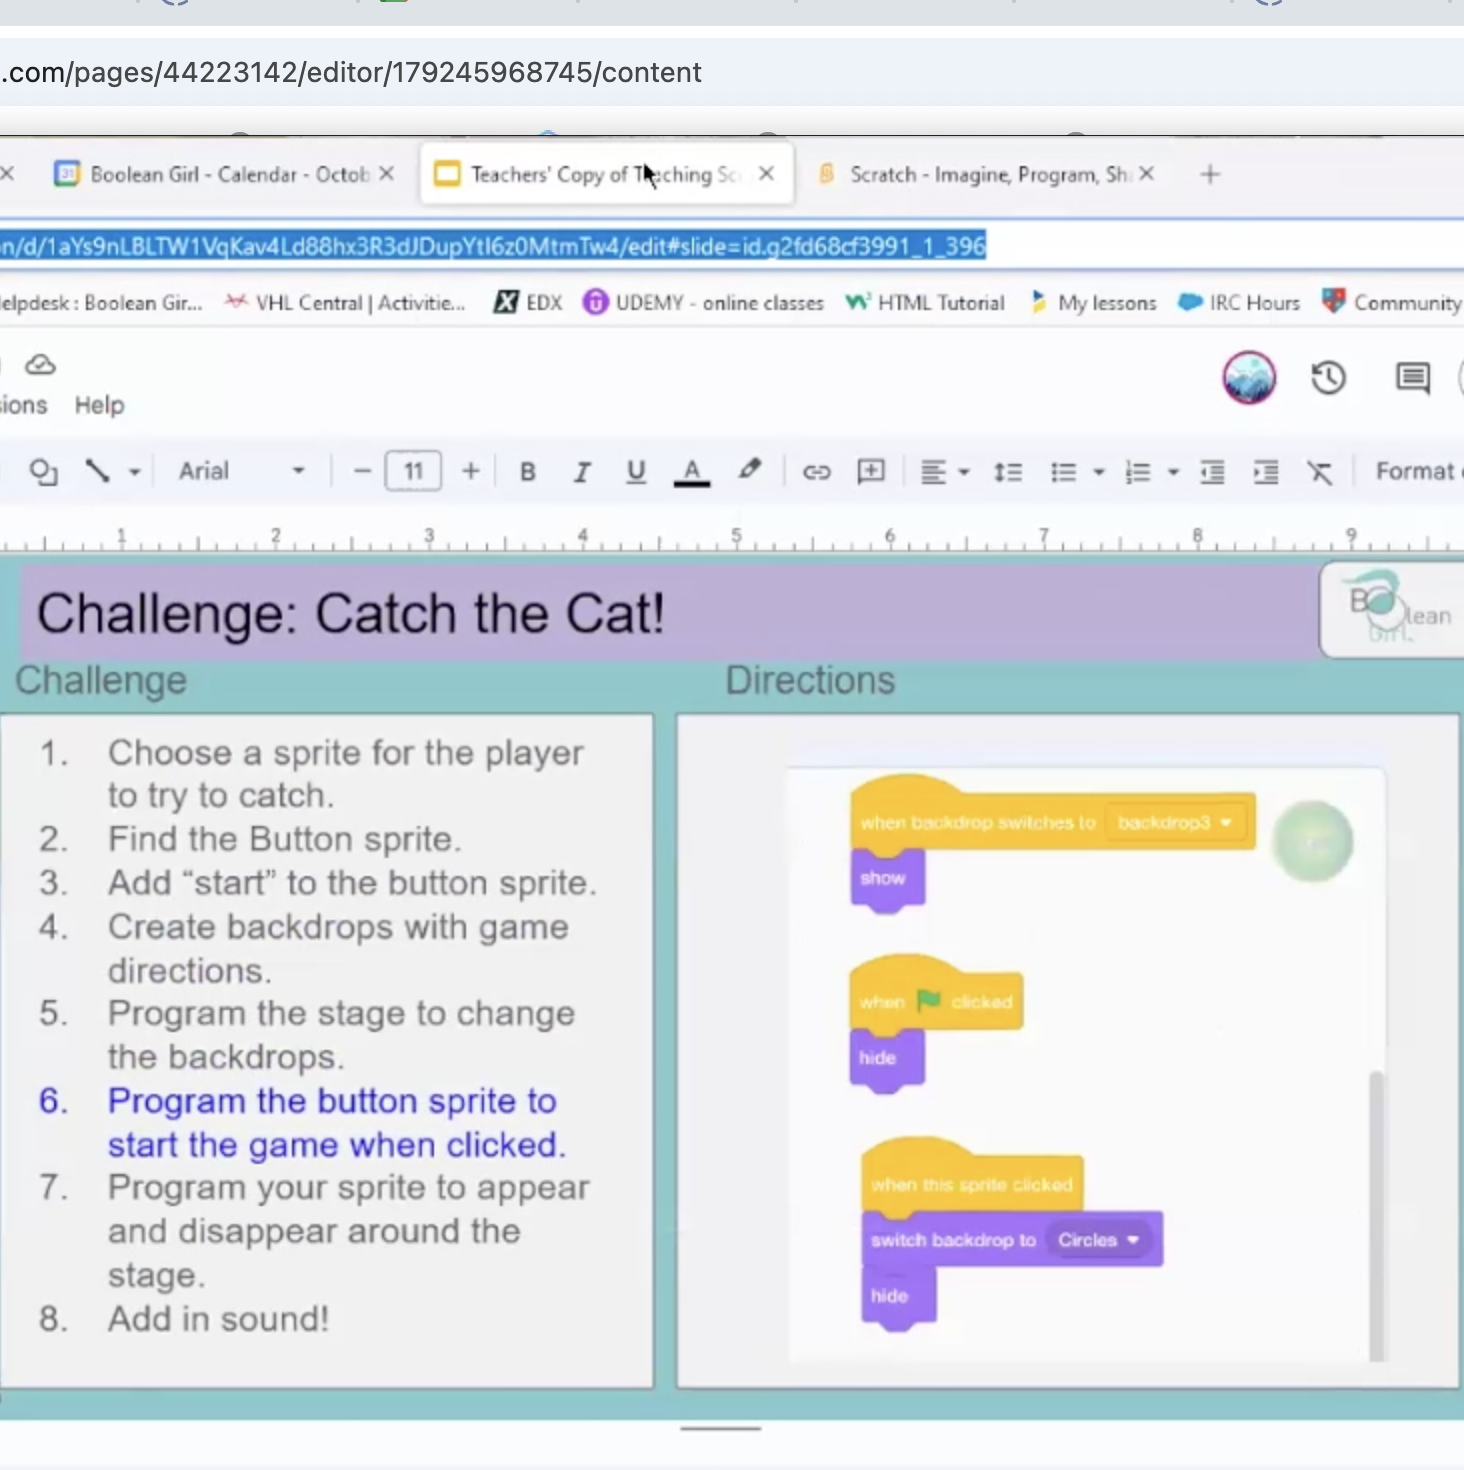
- We built the Catch the Cat challenge. This introduced: Editing a Sprite, adding directions, switching backdrops, clicking on a Sprite as an "event", and the use of "random" in coding.
- We also discussed introducing projects to the class based on the age/ experience level of the students. I have arranged the projects from easiest to hardest.
- We went over the Animate Your Name challenge, but did not build it together.
Resources
Resources include:
- Video of the second lessons
- Slides from training tbd
- All the projects are in Scratch Studio
Scratch Session 3
Overview
In the second session we:
- We Built the Soccer Cat Challenge together. This introduced using the arrow keys to control motion, and using a conditional and sensing block so two Sprites can interact.
- We discussed the idea of coding logic which determines the order that blocks are added to the code.
Resources
Resources include:
- Video of the Third Lesson Video
- Slides from training tbd
- All the projects are in Scratch Studio
Scratch Session 4
Overview
Session 4 we built the Soccer Cat together. This project introduces using the "When XX key is pressed" event keys to control the movement of a particular Sprite. It also having two Sprites interact by using a Forever Loop around a Conditional loop that includes a Sensing block. This project has a more challenging addition for teachers who have time. This includes more advanced logic. One of the Conditional blocks is inside the other Conditional block and both are inside the forever loop. This makes the code tell the Sprite to do one thing when one set of conditions are met and another when both sets of conditions are met.
Resources
Resources include:
- Video of the Fourth Lesson Video
- Slides from training
- All the projects are in Scratch Studio
Scratch Session 5
Overview
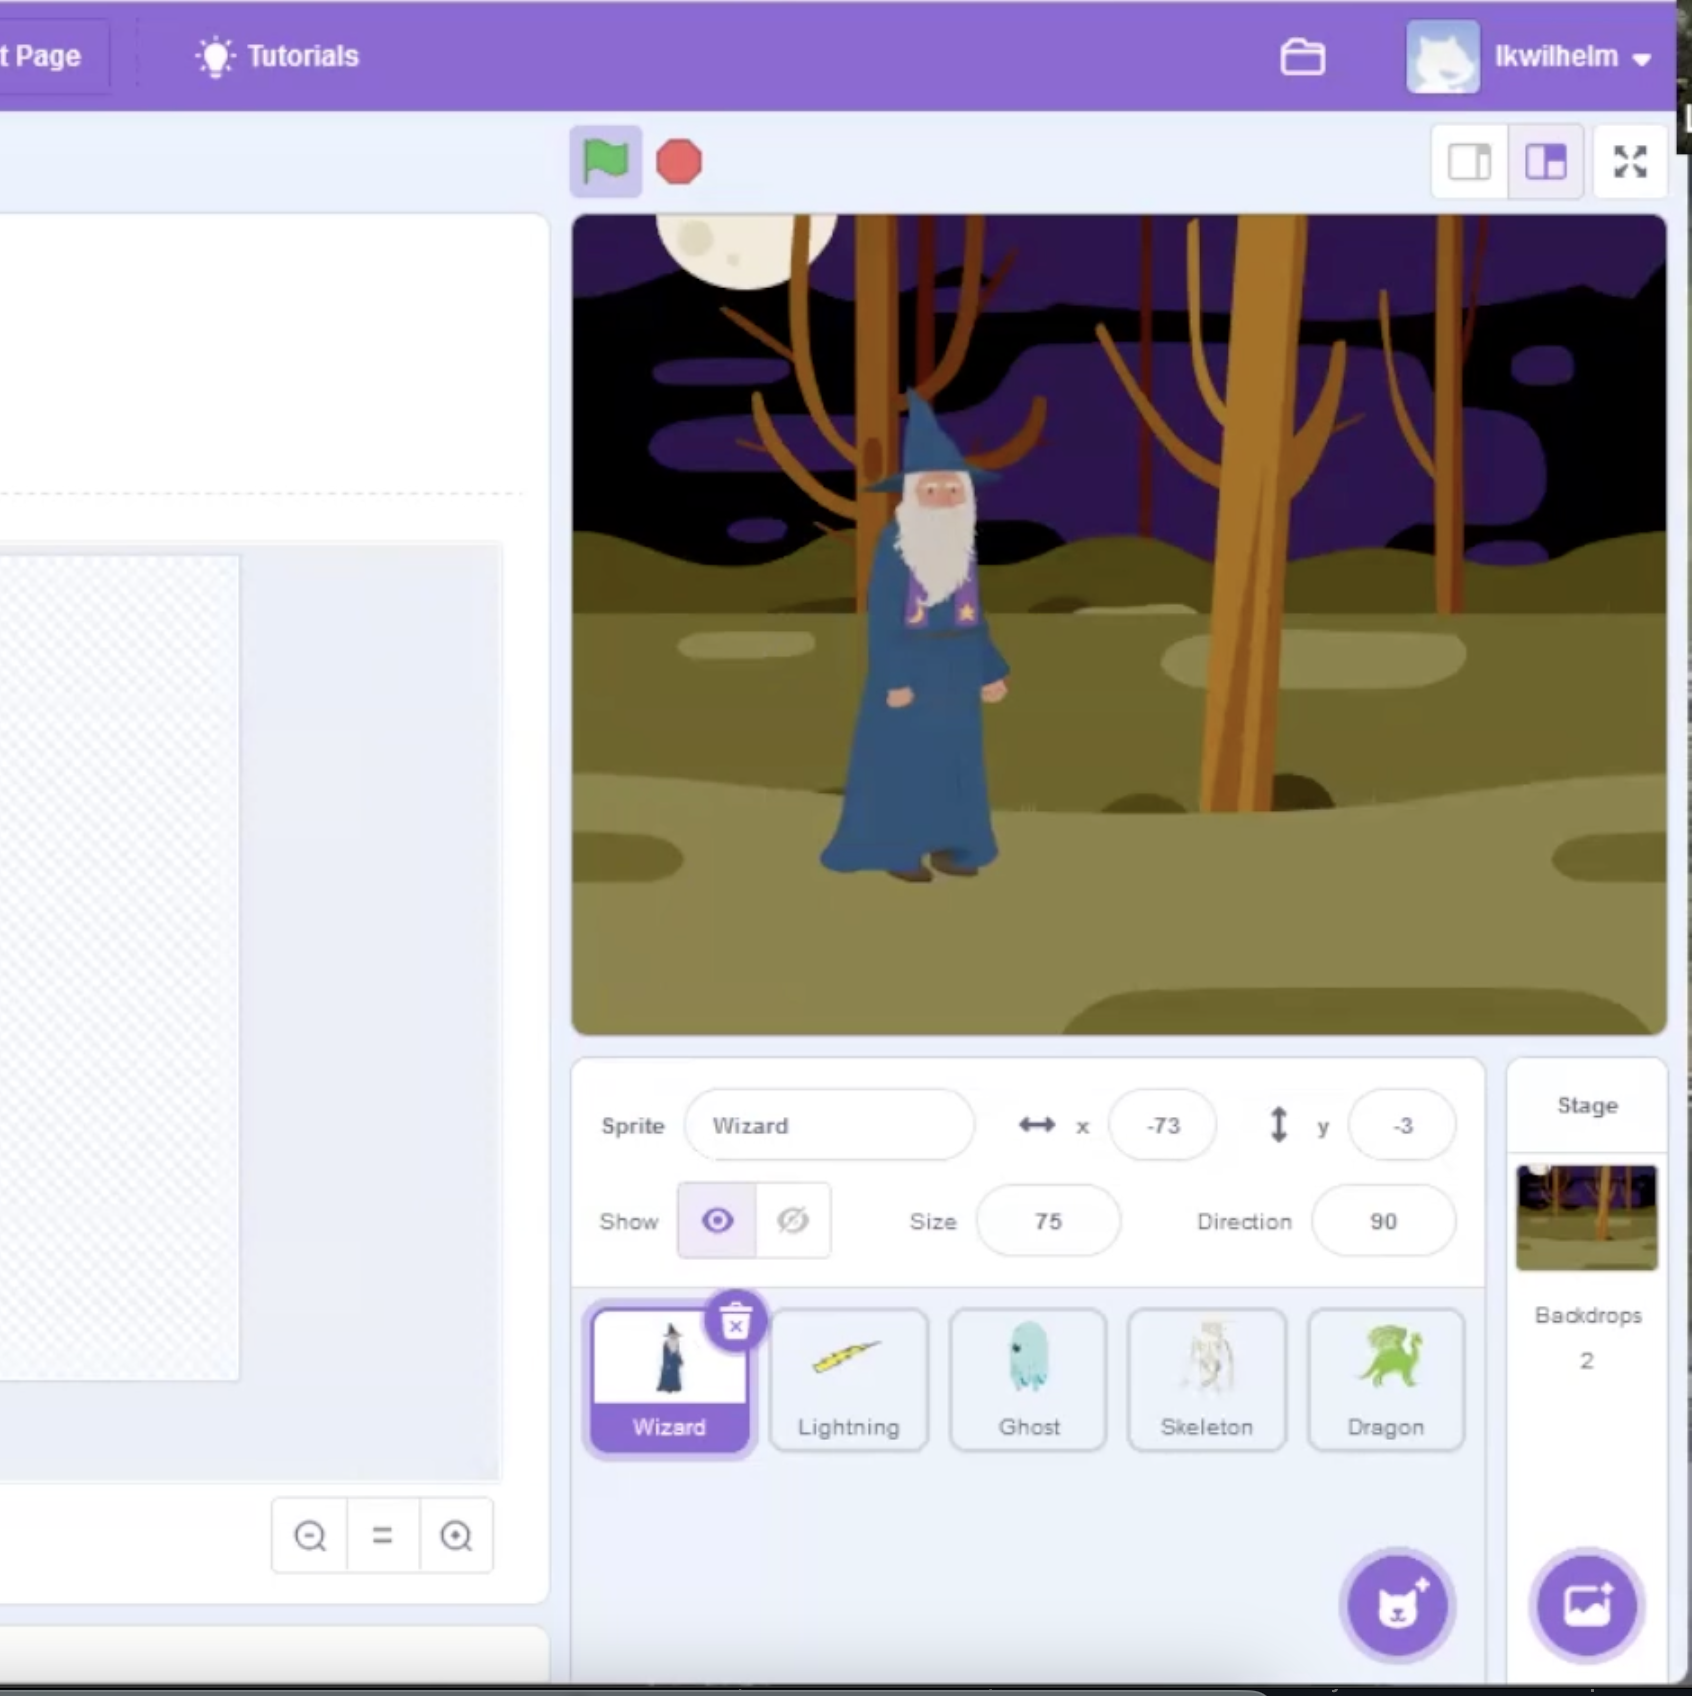
Session 5 - We built the Wizard Class Challenge together. This is a more advanced project, but suitable for Halloween! This project allows children to explore altering Sprites through copying and pasting. We also discussed how you can change where the computer "sees" the Sprite on the screen by going to costumes and moving the Sprite so the target symbol fall on the Sprites wand (for this project). This project also introduces the use of the "Broadcast" event block so Sprites can control what other Sprites do.
Resources
Resources include:
- Video of the Fifth Lesson Video
- Slides from training
- All the projects are in Scratch Studio
Scratch Session 6
Overview
Session 6 ...
Resources
Resources include:
- Video of the Sixth Lesson Video
- Slides from training
- All the projects are in Scratch Studio
This is the last Session
Creative Commons Licensing Details
This resource page is designed to provide free computer science curricula for educators regardless of background or subject matter expertise. It is licensed under a Creative Commons license so you can remix, adapt, and build upon the material for noncommercial purposes only, as attribution is given to the creator, Boolean Girl.
![]() This work is licensed under CC BY-NC-SA: This license allows reusers to distribute, remix, adapt, and build upon the material in any medium or format for noncommercial purposes only, and only so long as attribution is given to the creator. If you remix, adapt, or build upon the material, you must license the modified material under identical terms.
This work is licensed under CC BY-NC-SA: This license allows reusers to distribute, remix, adapt, and build upon the material in any medium or format for noncommercial purposes only, and only so long as attribution is given to the creator. If you remix, adapt, or build upon the material, you must license the modified material under identical terms.
CC BY-NC-SA includes the following elements:
BY ![]() – Credit must be given to the creator
– Credit must be given to the creator
NC ![]() – Only noncommercial uses of the work are permitted
– Only noncommercial uses of the work are permitted
SA ![]() – Adaptations must be shared under the same terms
– Adaptations must be shared under the same terms
Boolean Girl Ed Content © 2024 by Boolean Girl is licensed under Attribution-NonCommercial-ShareAlike 4.0 International.

